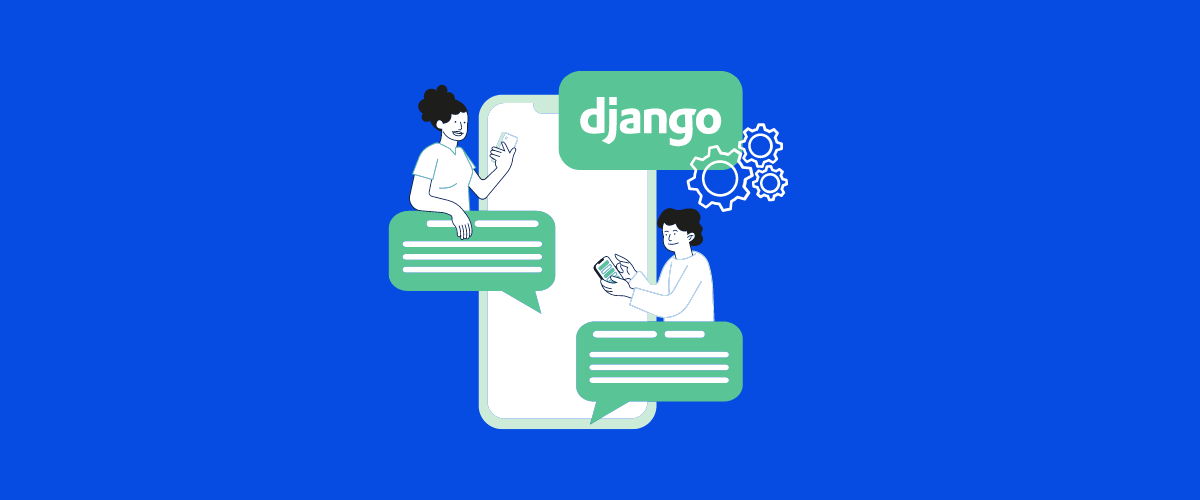
With the ever-growing popularity of chats and chatbots, it is important to understand the technology behind the chatting channels. In this article, we will discuss Django channels and the basics of building a Django WebSockets chat.
What Is Django and Django Channels
As stated on their website, Django is a “web framework for perfectionists with deadlines”. And that’s true – as a high-level Python web framework, Django makes it easier to build better web apps more quickly and with less code.
Django channels are included with the latest version of Django. They act as an extension to Django framework, making it possible to handle the use of WebSockets and background tasks. Django WebSocket is designed to exchange messages between the client and the web server in real time. It represents an open channel between the client and the server, with the ability to subscribe to events that are sent to it. Instead of the original request-response model, the framework responds to a number of events across different channels, which are “viewed/listened” by event handlers.
From the inside, Django channels are a classic task queue (like Celery) that use redis as a layer for communication between those who create the producers and those who perform them. To simplify the process of writing the code (by the way, the code is written in the same familiar synchronous style) and processing long-polling connections, the original request-response mechanism is divided into 3 levels:
- Interface level. Handlers of the usual protocols of interaction between the application and the server, for example, WSGI, WebSocket.
- Channel level. Redis, SQL database, memory area or any own bike.
- Processor level. Processes that monitor the flow of messages to the channel (queue) and react to them in one way or another (typically by calling the corresponding handler functions).
Building a Django WebSocket Chat
A WebSockets Django chat typically has the following features:
- User authorization based on the built-in django.contrib.auth.
- Chat rooms with the adding, deleting and editing functionality via the standard Django admin panel.
- Real-time message delivery in real time with the help of Django/Python channels and WebSockets.
To build a Django chat, follow these steps:
- Install and configure the environment. Create a virtual environment and Django project on Python as well as prepare them for work. It is important to add channels to the INSTALLED_APPS setting.
- Install redis or another channel layer. Configure django-channels so that it will use the redis as the channel storage by adding asgi_redis.RedisChannelLayer to the CHANNEL_LAYERS setting.
- Add a basic message handler to multi-chat/routing.py in order to initialize the Django channels routing.
- Check how everything works by installing any WebSocket client and running the Django web server together with the interactive session interpreter.
- Connect to the web socket and try to send a chat message. If the message is duplicated in the server log, it means that the chat works correctly.
- Create authorization page for the chat by creating a template and adding a stylesheet as well as redirection URLs for login and log out.
- Create chat rooms by adding a ‘Room’ class to chat/models.py.
- Add event handlers to manage events such as connecting to and disconnecting from the web socket, message processing, login/logout, and message sending.
- Create a front-end part of your chat by writing Python code for connecting to the socket, connecting to and disconnecting from the rooms, and exchanging messages.
Now you have a general overview of how to create a Django chatting channel. For more details on the code, you can find a Django channels tutorial.